A cadence is a piece of music played by a drumline. It is usually used functionally as a way to keep time for the band as they are marching from point A to B, either during a parade or other live performance. Cadences are usually written to be fun to perform and fun to listen to. They often borrow rhythmic ideas from popular styles of music such as Afro-Cuban, Pop, R&B, and more. Sometimes, cadences are arrangements of a particular song, while others are original compositions. By reading this guide, you will hopefully get some ideas to inspire your next drumline cadence!
Practical Considerations

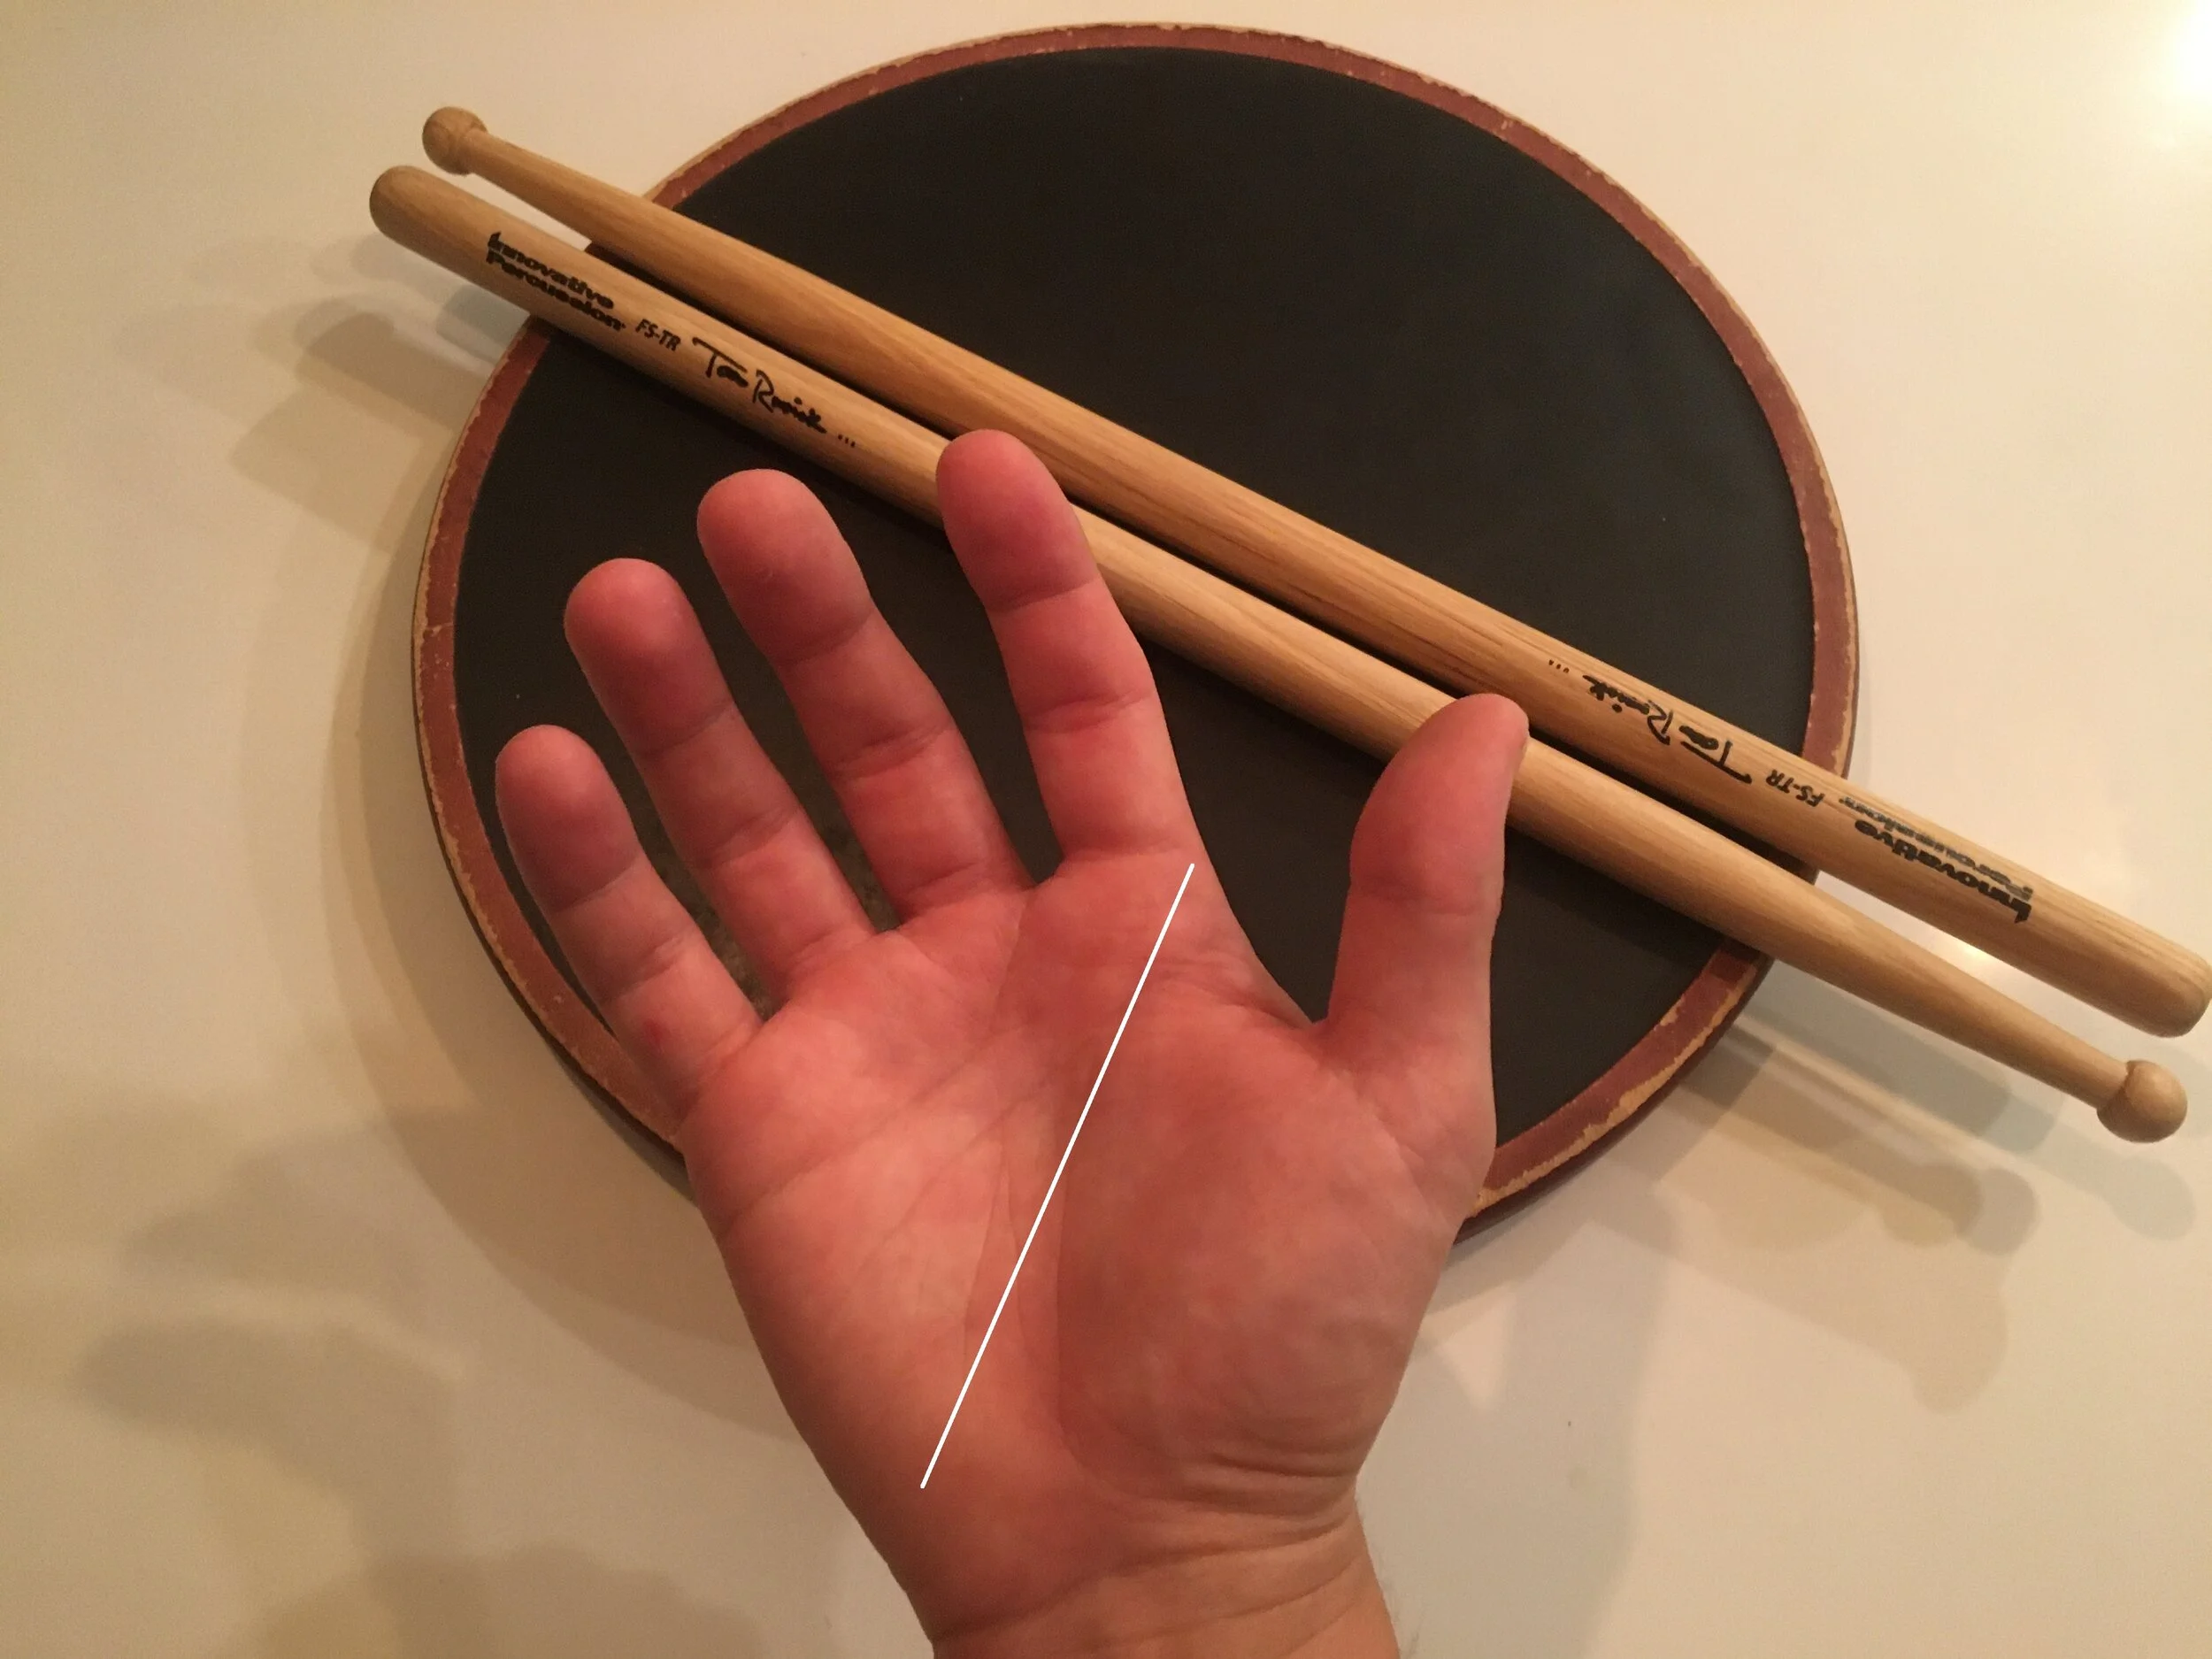
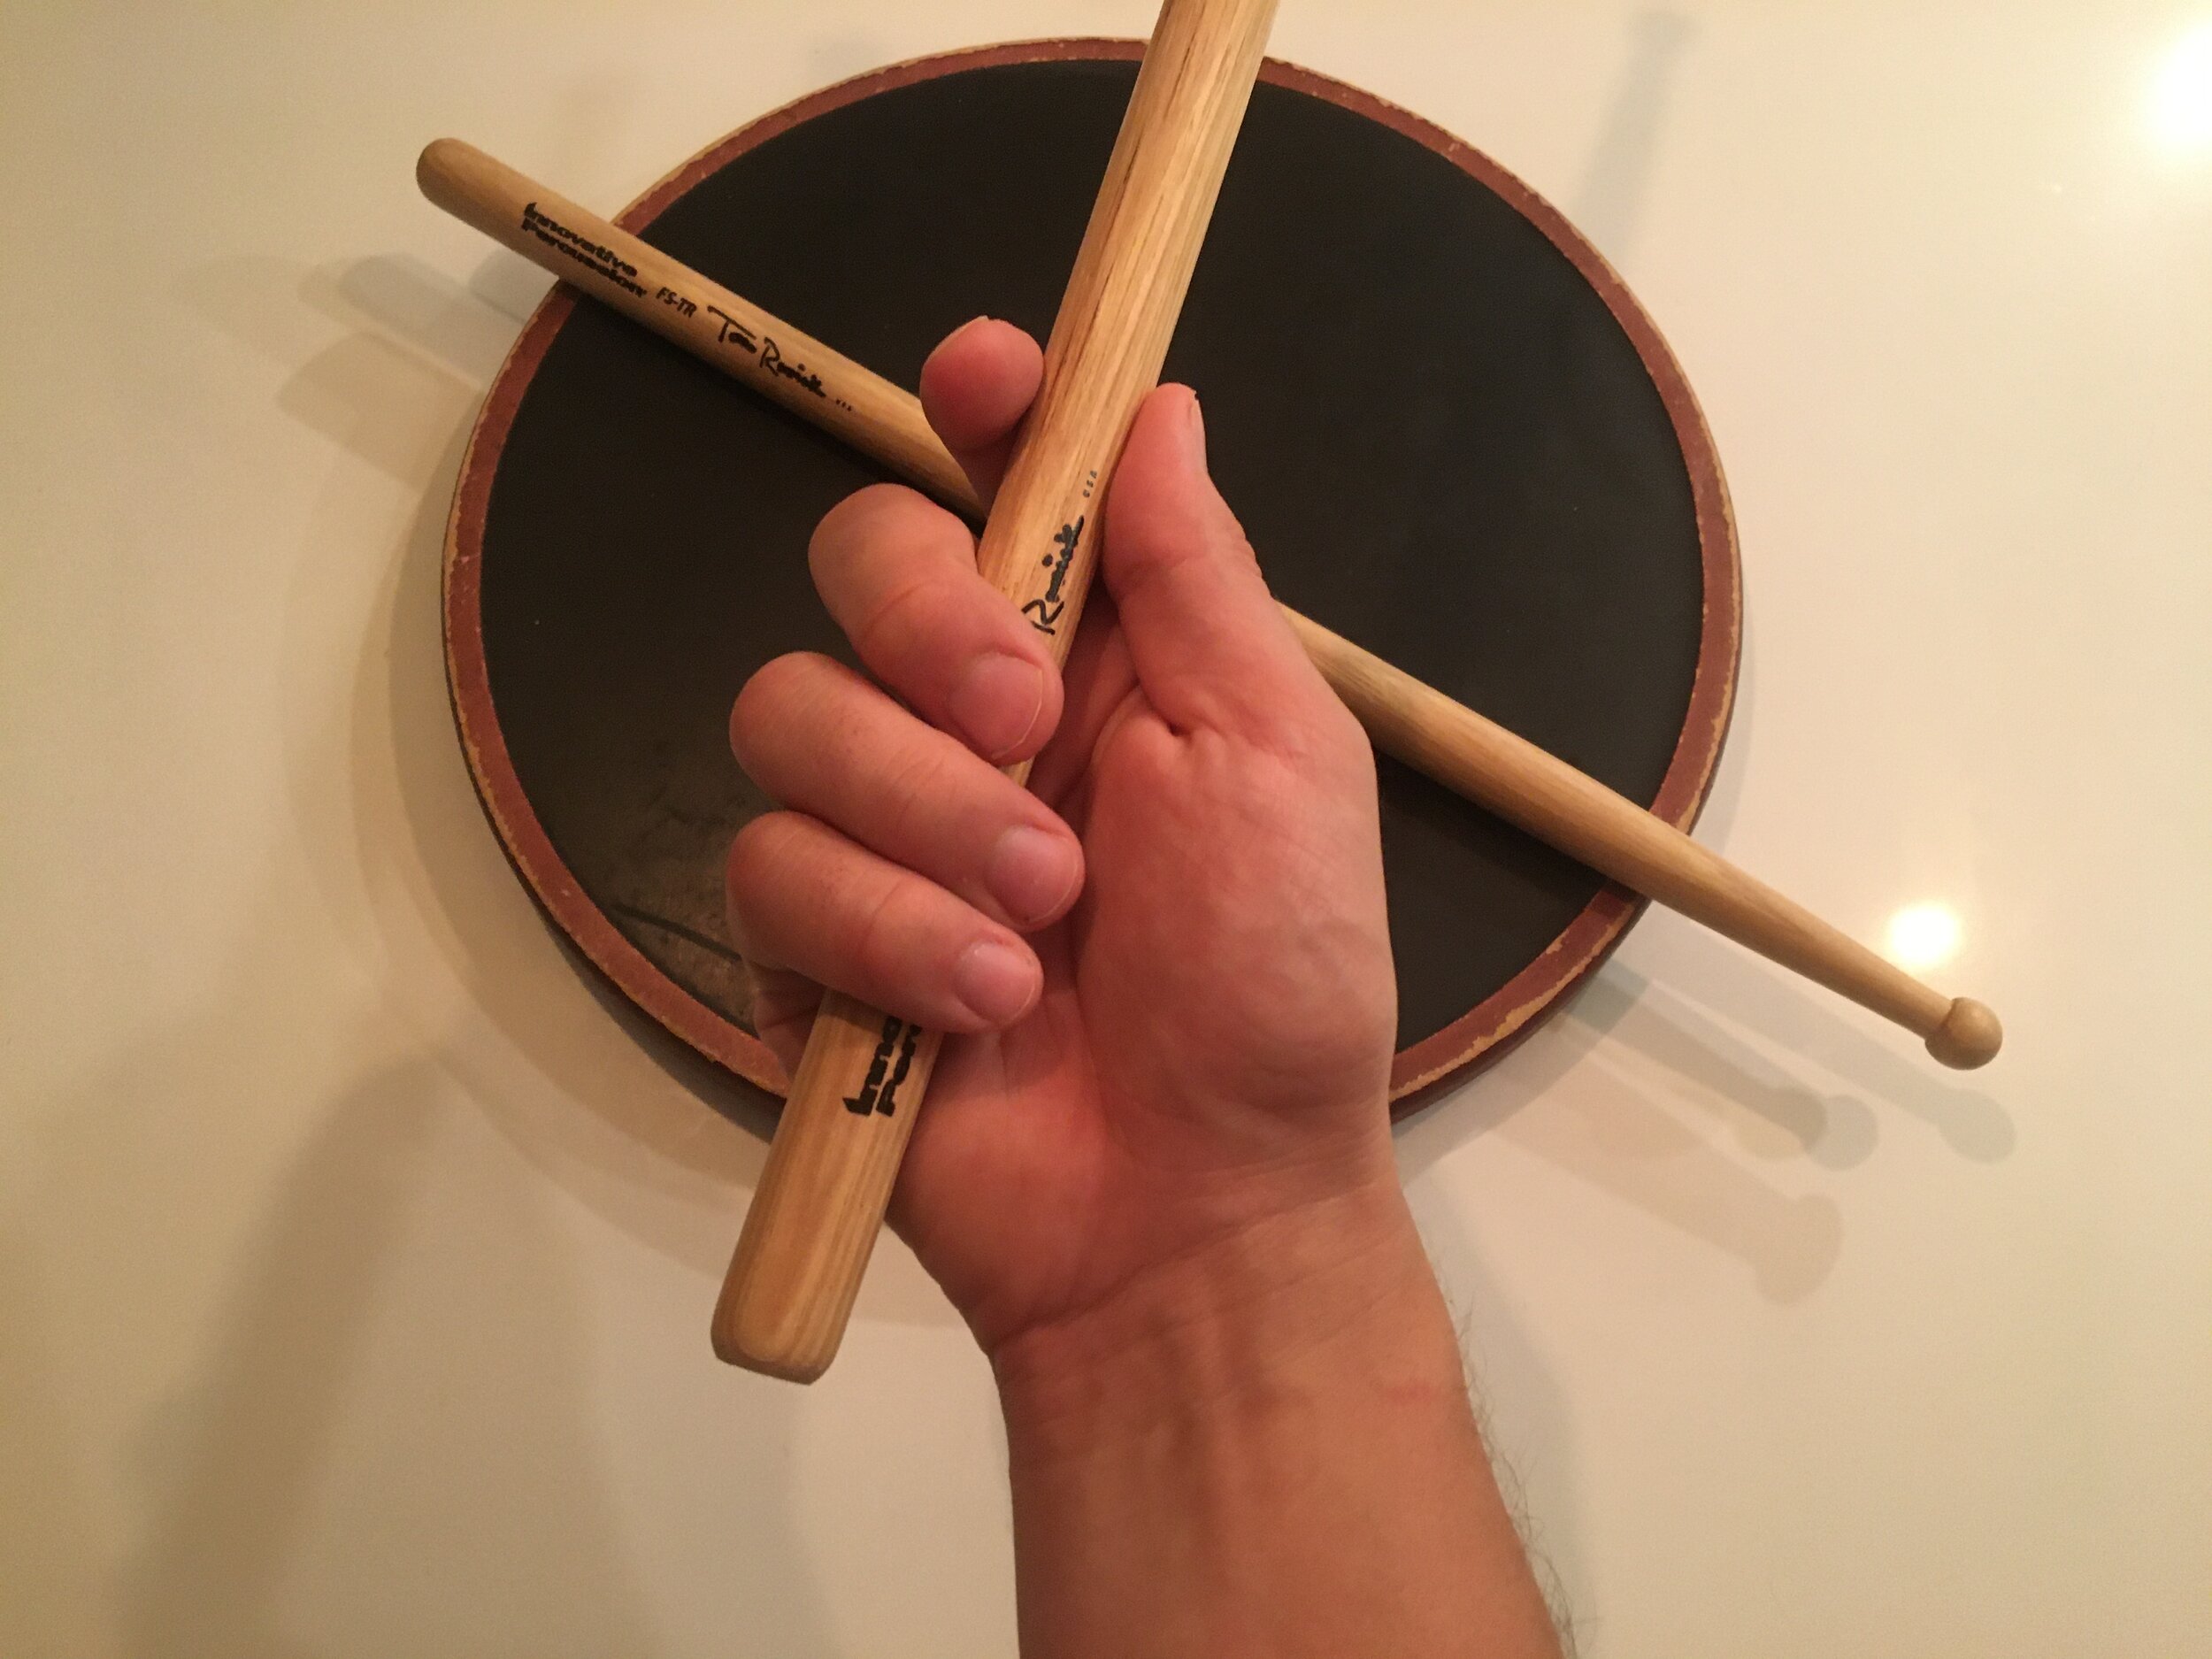
Think through these things before getting started. (Photo credit: James Scott)
Begin with some practical considerations. Will this cadence be performed during parades and/or while the drumline is moving? If so, consider keeping it within a comfortable walking tempo of around 108-124bpm. If not, you have much more flexibility when it comes to tempo.
Next, consider who will be performing this music. Is it for mostly beginners, very advanced performers, or somewhere in between? What skills does your target audience have in terms of rudiments, pulse control, and metric modulation abilities? Do you have any specific skills or rudiments you wish to focus on more heavily?
Notation

Capture your musical ideas by writing them down. (Photo credit: Weston MacKinnon)
Now it’s time to determine how you will notate the music. Will you write it by hand? If so, find some staff paper and a pencil. Will you use computer software? Sibelius, Finale, and MuseScore are some great options that each come with a learning curve. For someone just starting out, MuseScore may be the best in terms of cost (free) and ease of use. Learning how to notate music can be challenging at first, but it is worth it because it unlocks your creativity and allows you to express yourself musically.
Consider Restrictions

Restrictions can inspire creativity. (Photo Credit: Utsman Media)
Sometimes I find that I am the most creative when I have some type of restriction placed on my compositional process. Maybe it’s a self-imposed challenge, such as: “I am going to write an exercise using only paradiddles and double paradiddles.” Maybe it’s something as simple as a deadline beyond my control (“I have to finish the piece by tomorrow night so I can hand it out to the students on Monday”). Giving yourself a deadline or some type of restriction can serve to focus your attention and get creativity to flow. It’s up to you to decide if that makes sense for your current project.
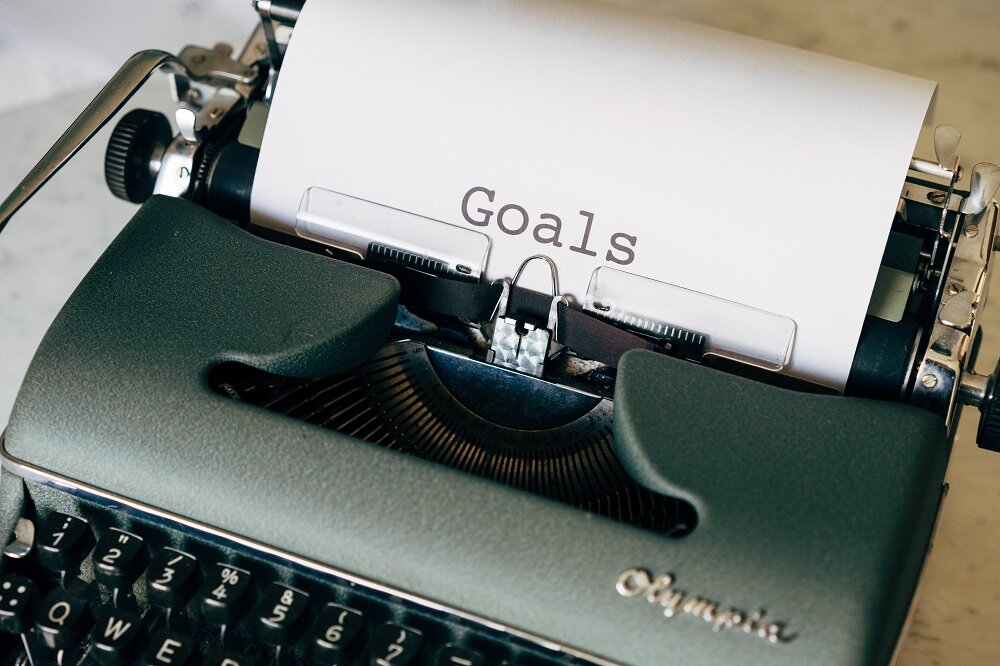
Coming Up with Ideas

Make yourself available for inspiration. (Photo credit: Patrick Tomasso)
Sometimes an idea for a piece of music jumps out at you. This can happen at any time, so it’s best to keep a recording device with you. Luckily, most mobile devices have some type of voice recorder. This allows you to tap or sing the rhythmic idea into the recording to be notated later. Some of the best composers in the world use this method to keep track of new ideas.
Other times, you may need to look for an idea. This might mean listening to some of your favorite music. It might also mean listening to musical genres that you have never listened to before. Rhythm is everywhere. I recommend not listening to a bunch of other drumline cadences for inspiration. Instead, try to capture musical ideas from other genres and bring them to life in a new and unique way in the drumline idiom!
Notating Your Ideas

Capture your musical ideas by writing them down. (Photo Credit: Philipp Katzenberger)
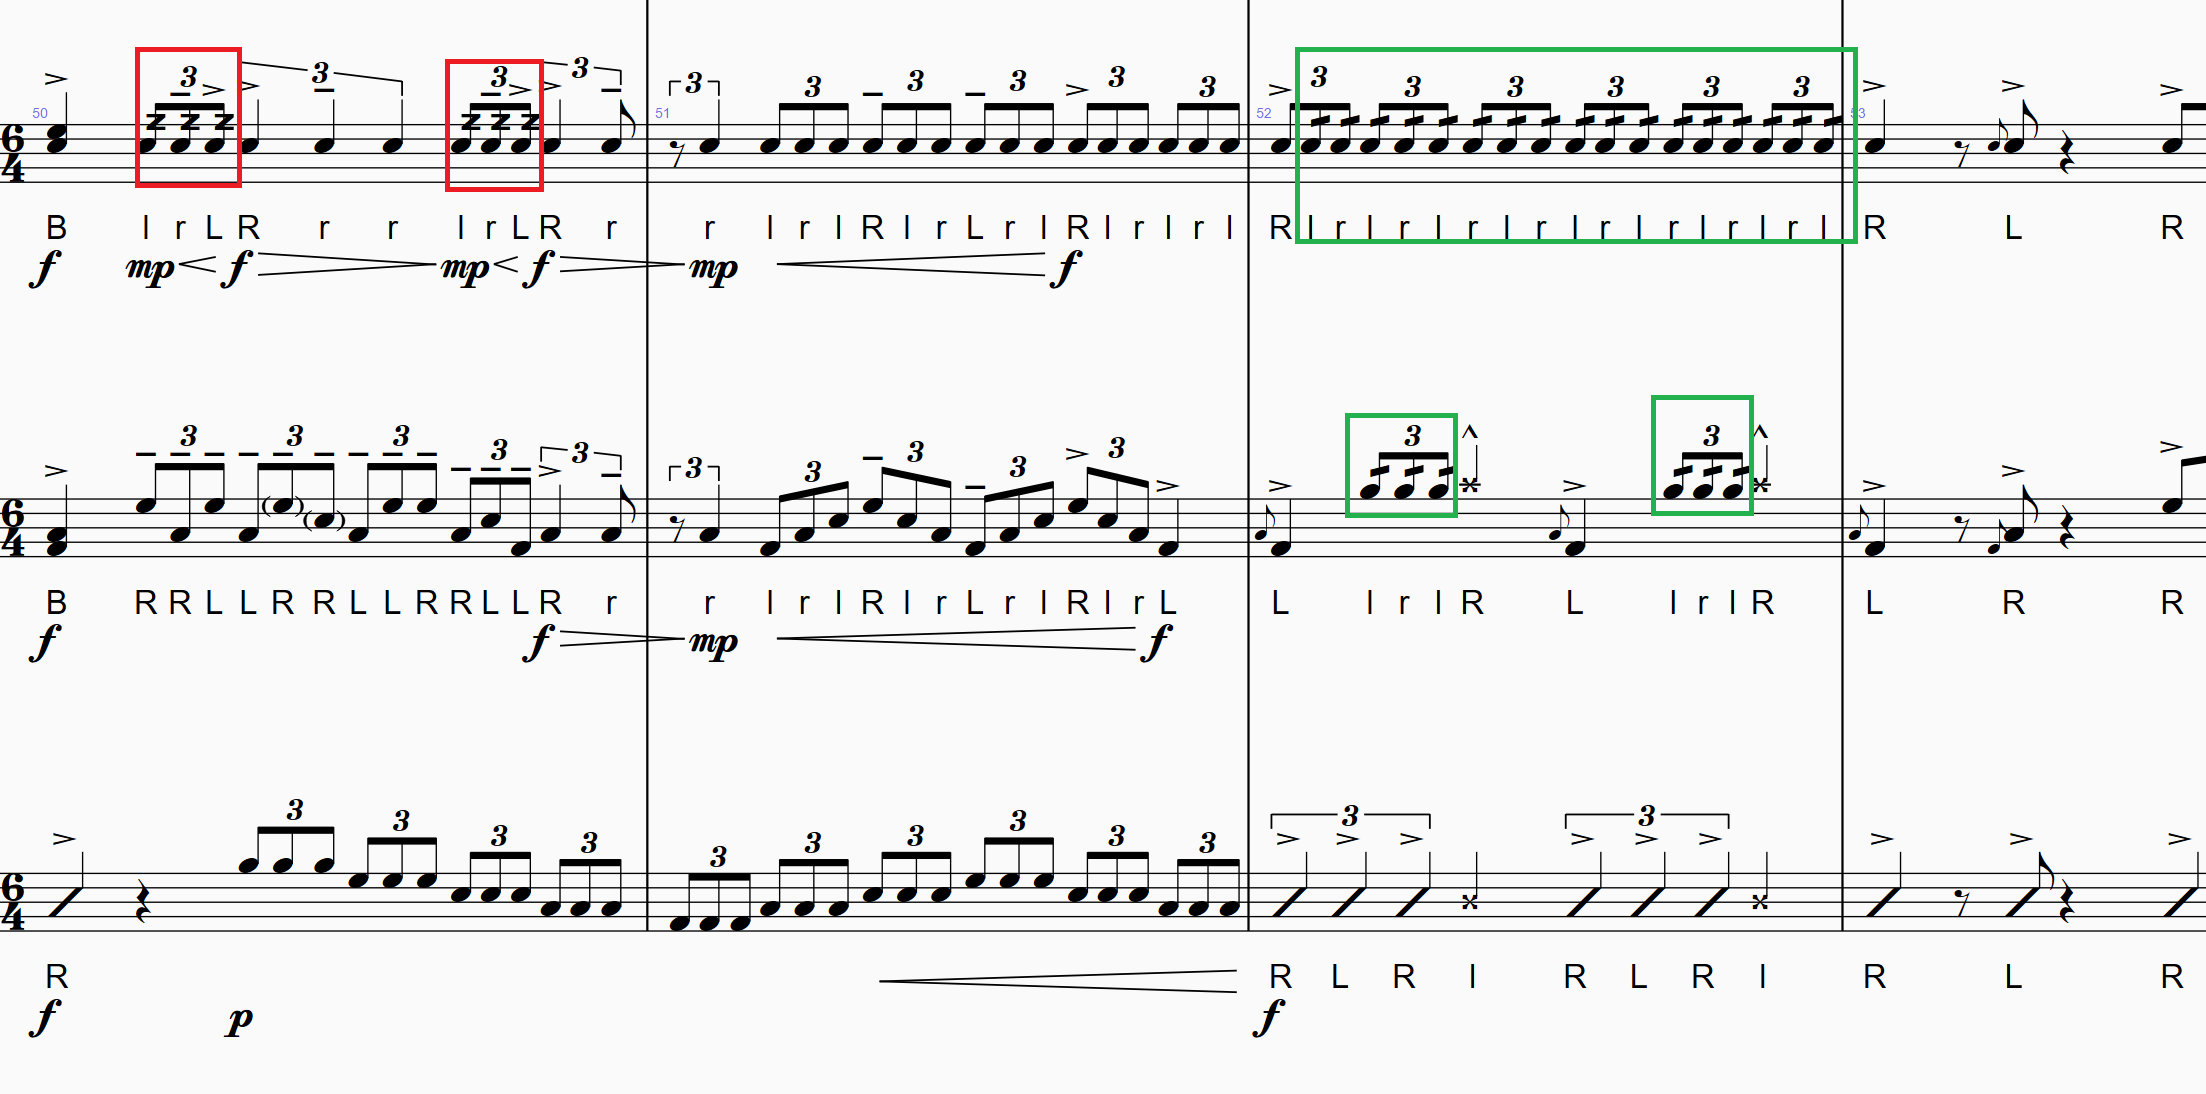
Once you have a few musical ideas, it’s time to write them out. Most cadences are written out in three or four staves, with the top line being for snares, the next for tenors, then followed by bass drums, and finally cymbals. With your staves lined up, begin recording your ideas on the page. Try moving the rhythm from one voice to another (example: maybe you have an idea for a snare part… try repeating that idea in the tenor part). I like to put an idea down, then leave a bunch of blank measures before jotting down another idea. This gives me room to expand upon the idea, leave it and work on something else, and then come back to it later. The benefit of using computer software for this task is that you can easily cut and paste ideas around the score. A pair of scissors and tape could accomplish the same task with handwritten music.
Developing Your Ideas

Your ideas need to be shaped and refined. (Photo credit: Alice Dietrich)
So now your score has a bunch of ideas that don’t necessarily connect to each other in any meaningful way. If you like all of the ideas, then it’s time to find what does connect those ideas musically, and develop more similar content to bridge the gaps. This could be as simple as writing a 2-4 bar transition between two unrelated ideas, with the transitional material borrowing concepts from each idea. Or maybe your 2-4 bar transitional idea evolves into a new idea of its own and becomes a 16-bar phrase. Don’t be afraid to let your musical ideas grow where they want to.
If you have a good idea for one instrument, but not much going on in the other three parts, here are some ideas to help fill out your score:
· Consider making it a solo for that instrument, and just fill in some sparse accompaniment parts.
· Try copying the rhythm note-for-note into another instrument. For example, a tenor part that is in unison with the snare part rhythmically, but adds “rounds” (playing on different drums).
· Create counterpoint. Example: a snare part that moves from eighth notes to 16th notes could be paired with a tenor part that moves from 16th notes to eighth notes.
· When in doubt, introduce syncopation. For example: a snare part playing straight 16th notes would fit nicely overtop a dotted eighth and 16th note pattern in the bottom bass drum.
· Use repetition to reinforce your musical ideas. That being said, avoid repeating something too many times without introducing new material. Too many repetitions can get stale.
Continue developing your ideas until you reach a point where the cadence has a form. Musical forms that we learned about in theory class (AB, ABA, ABACA, etc.) can serve as a guide to give you structure. Some composers decide on this structure before finding and developing their musical ideas, so perhaps that is something you want to do as well.
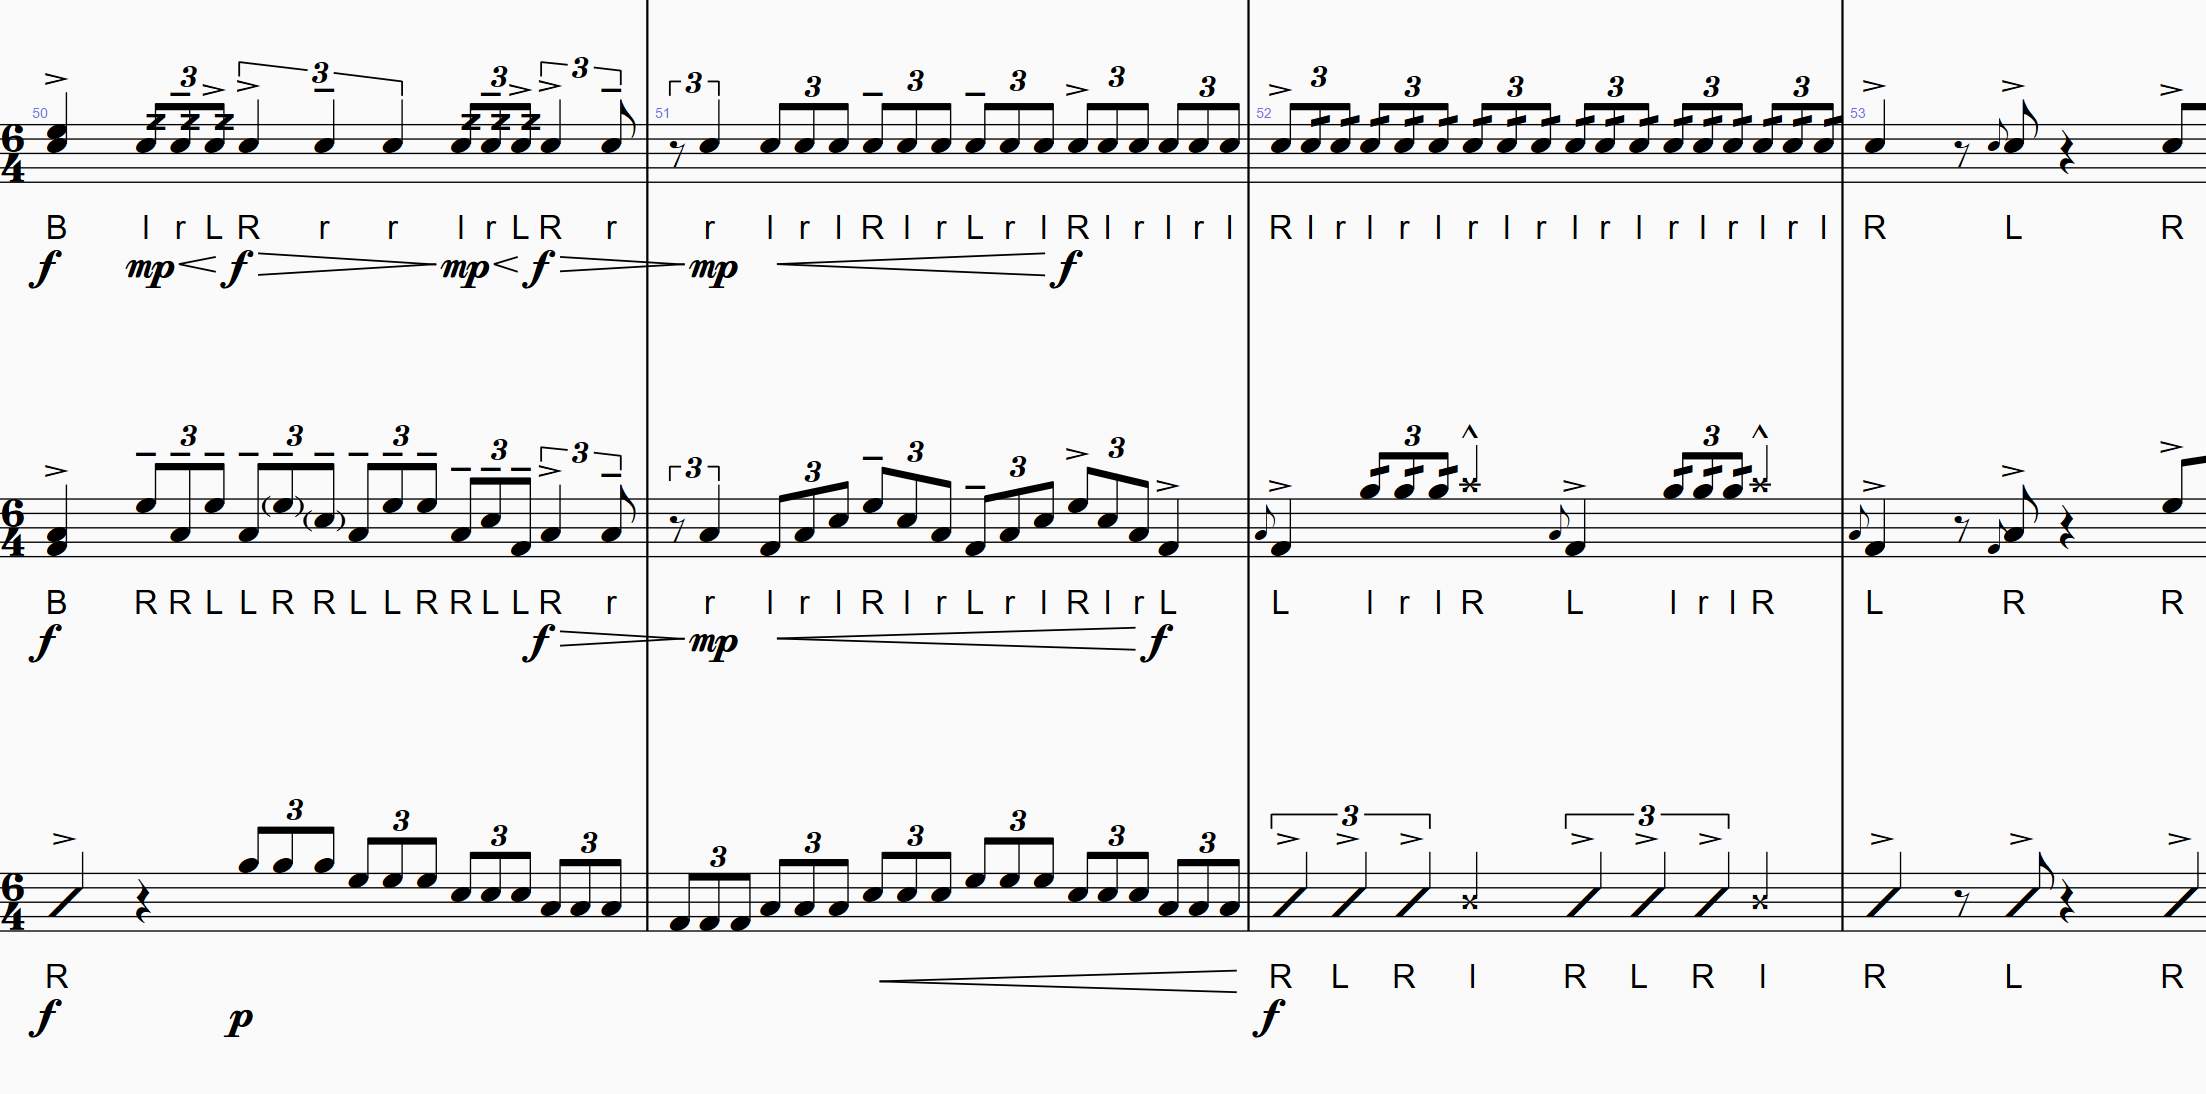
Cleaning Up the Score
Make your parts and score look professional. (Photo credit: The Creative Exchange)
Now that you have created a solid draft of the piece, it’s time to clean it up. Think about each phrase from the performer’s perspective: if you were reading that part for the first time, how would you play it? Include sticking (“R” and “L”) under each note for snares, tenors, and bass drum unisons. Your performers may want to change a few stickings later, but at least you have given them a starting point.
The most important thing to do when cleaning up your score is to play your parts. It’s easy to sit behind a computer, listen to a virtual drumline play the music, and think “wow, that sounds great, I did a great job!” However, that’s not real life. If possible, get on actual drums and try your parts out. Yes, that means learning each individual split part for your bassline music (or at least sight reading it). You will be amazed at how many little changes you will want to make after actually playing through your parts. Do not skip this step!
Finally, make your score look good. That means the parts are readable, there are clear dynamic instructions for every instrument throughout, typos and errors have been found and fixed, and there should really be no questions for someone sight reading your music. Make your intent as a composer as clear as possible!
Getting Feedback

Feedback is how we grow. (Photo credit: LinkedIn)
Now it’s time to have a few trusted musician friends check out your score. If you are a snare drummer with little to no tenor/bass/cymbal experience, you should definitely have specialists on each of those instruments check out your parts. What you may think is easily playable might actually be awkward to play, even after you’ve play-tested it! A specialist can recommend ideas that might make the part ten times easier for the performer with generally the same musical outcome. You can preserve your creative ideas while also making the parts more playable, which goes a long way for having your performers actually enjoy playing the music you’ve created. Feedback is a big deal for the development of your piece, but an even bigger deal for your development as a composer and a musician.
Once you have some valuable feedback, make the edits, clean up your parts and score even more, listen critically a bunch more times, sleep on it, and then print it! Congratulations! That’s it. Now enjoy performing your piece!
If this guide has been useful to you, or you have questions or ideas to share, leave a comment or feel free to reach out. While you’re here, please consider purchasing some sheet music from the store. Thanks for reading!