In a drumline, the style of music notation is unique to each percussion composer and arranger. Before using this guide, the reader should have a basic understanding of how to read time signatures and rhythms. Some specific techniques used for drumline notation are listed below.
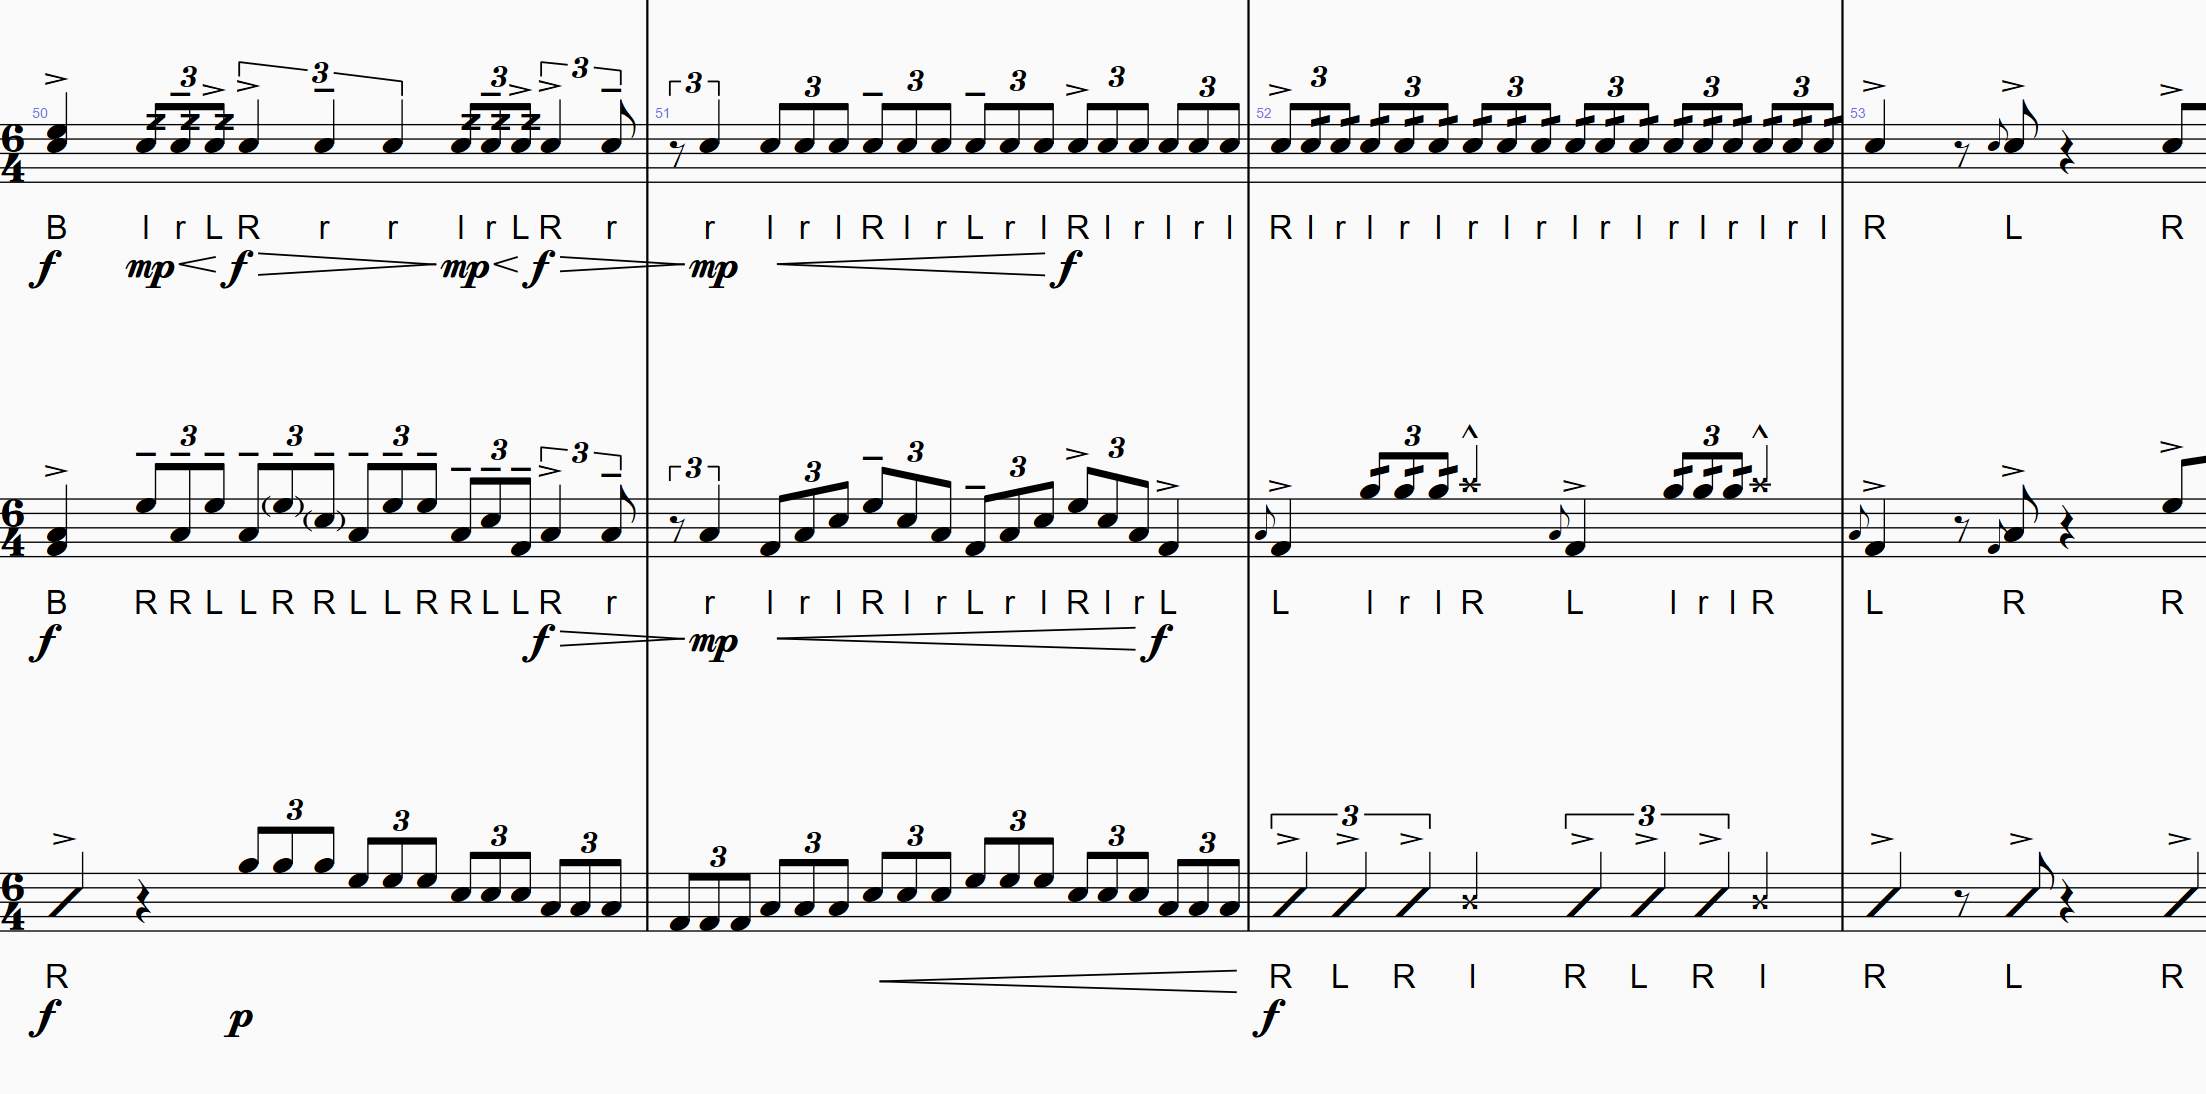
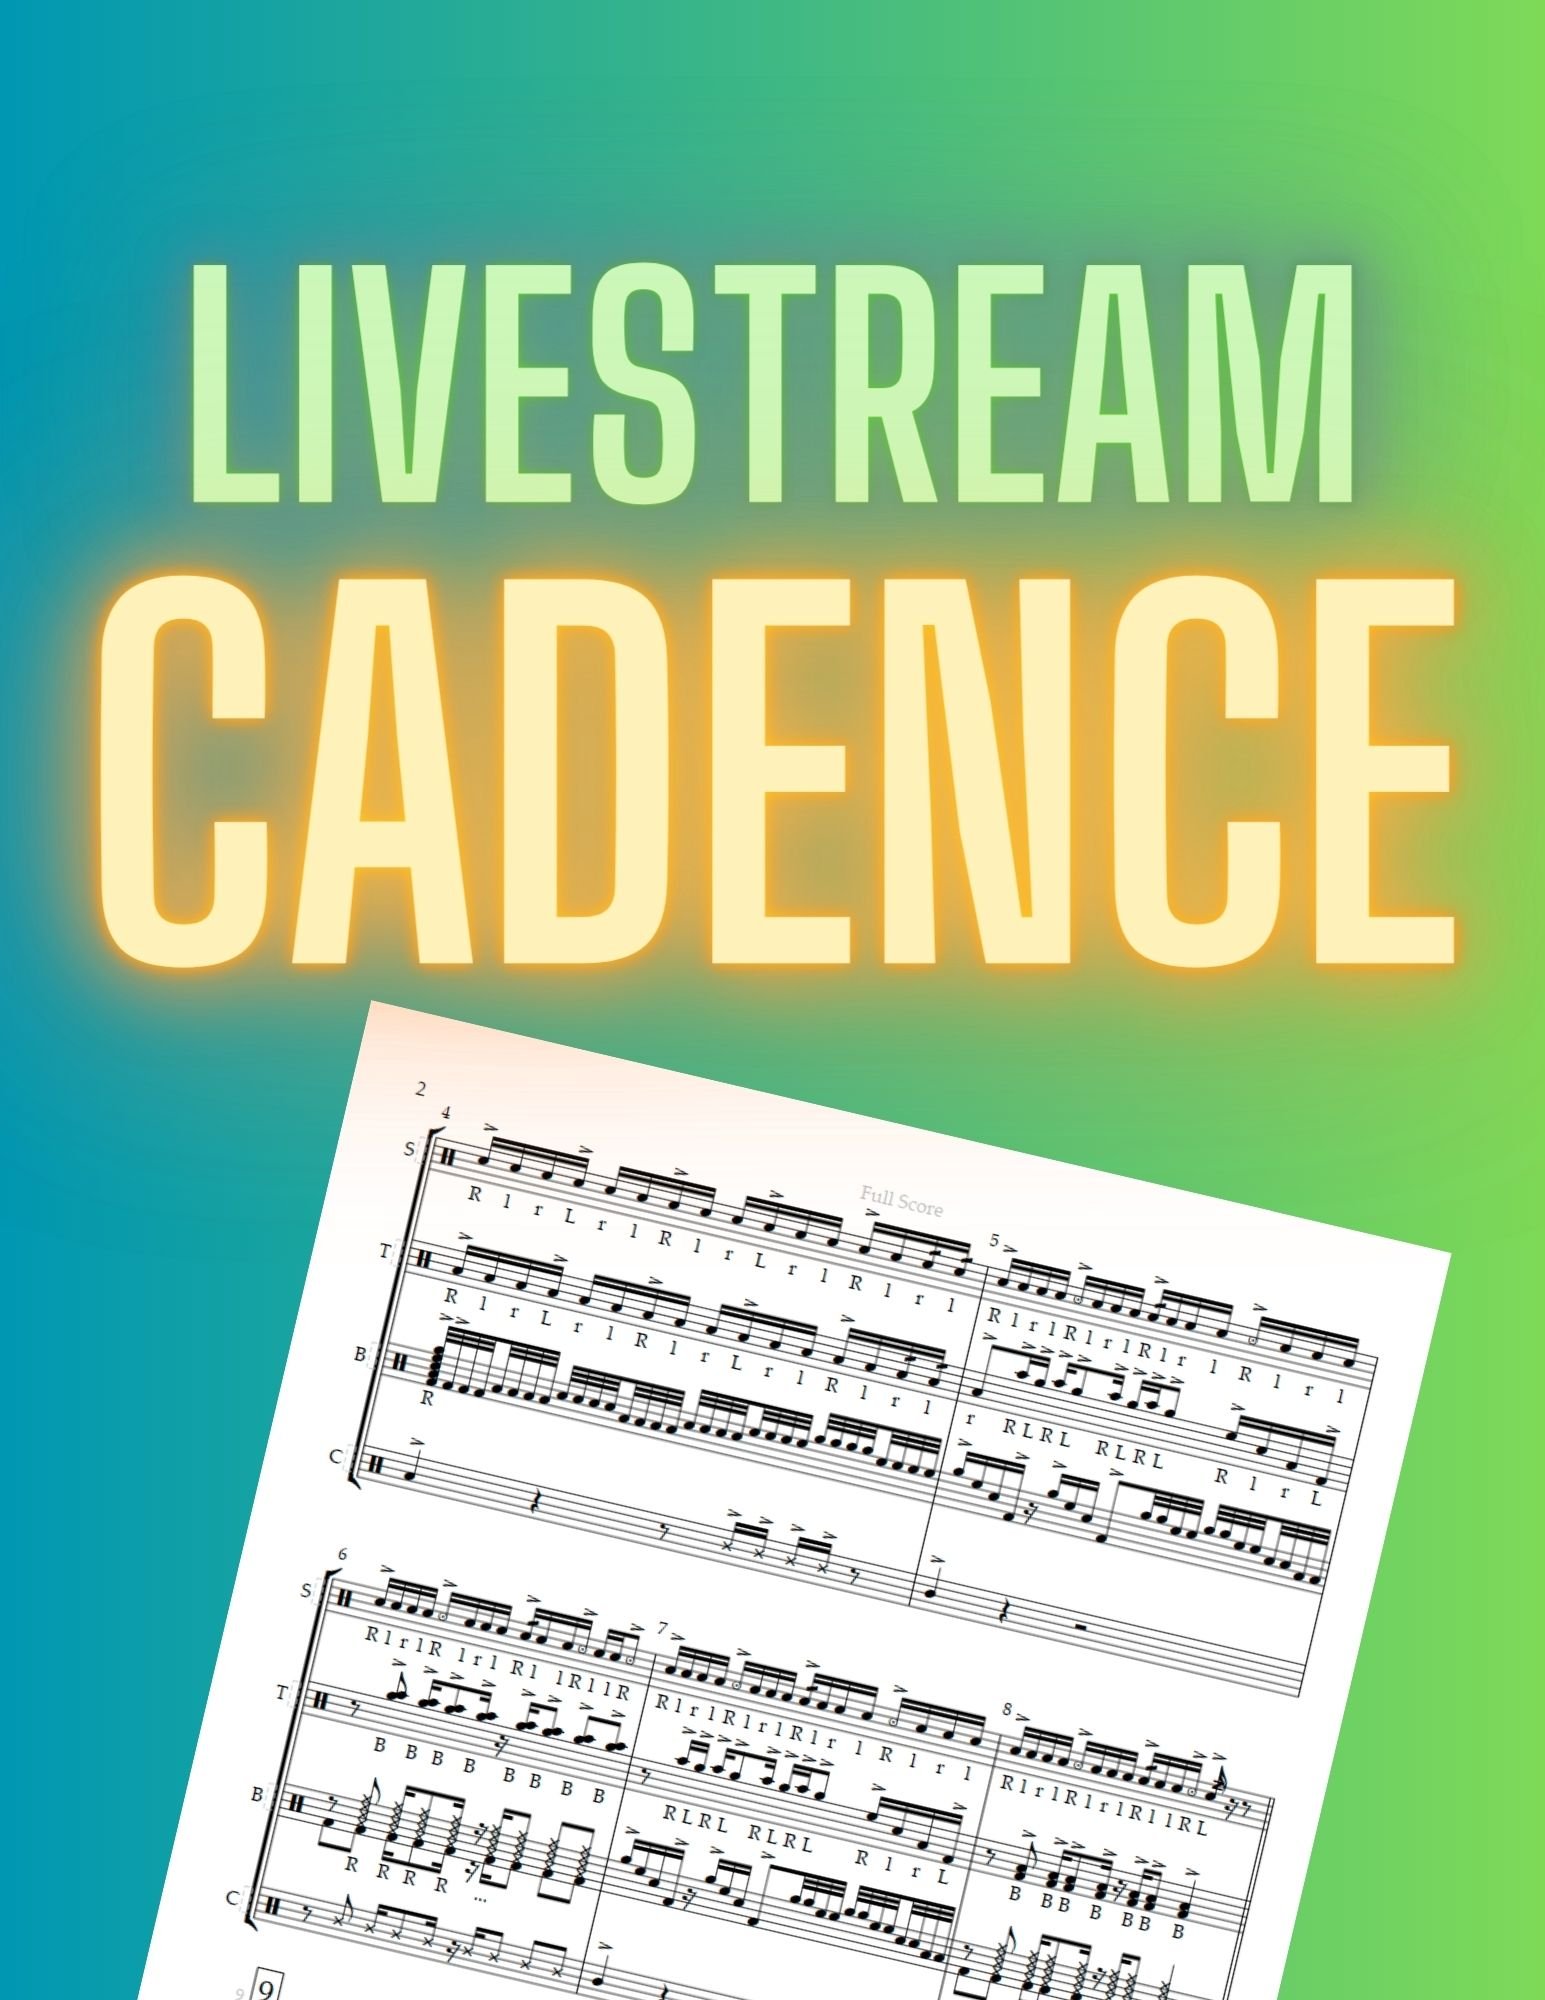
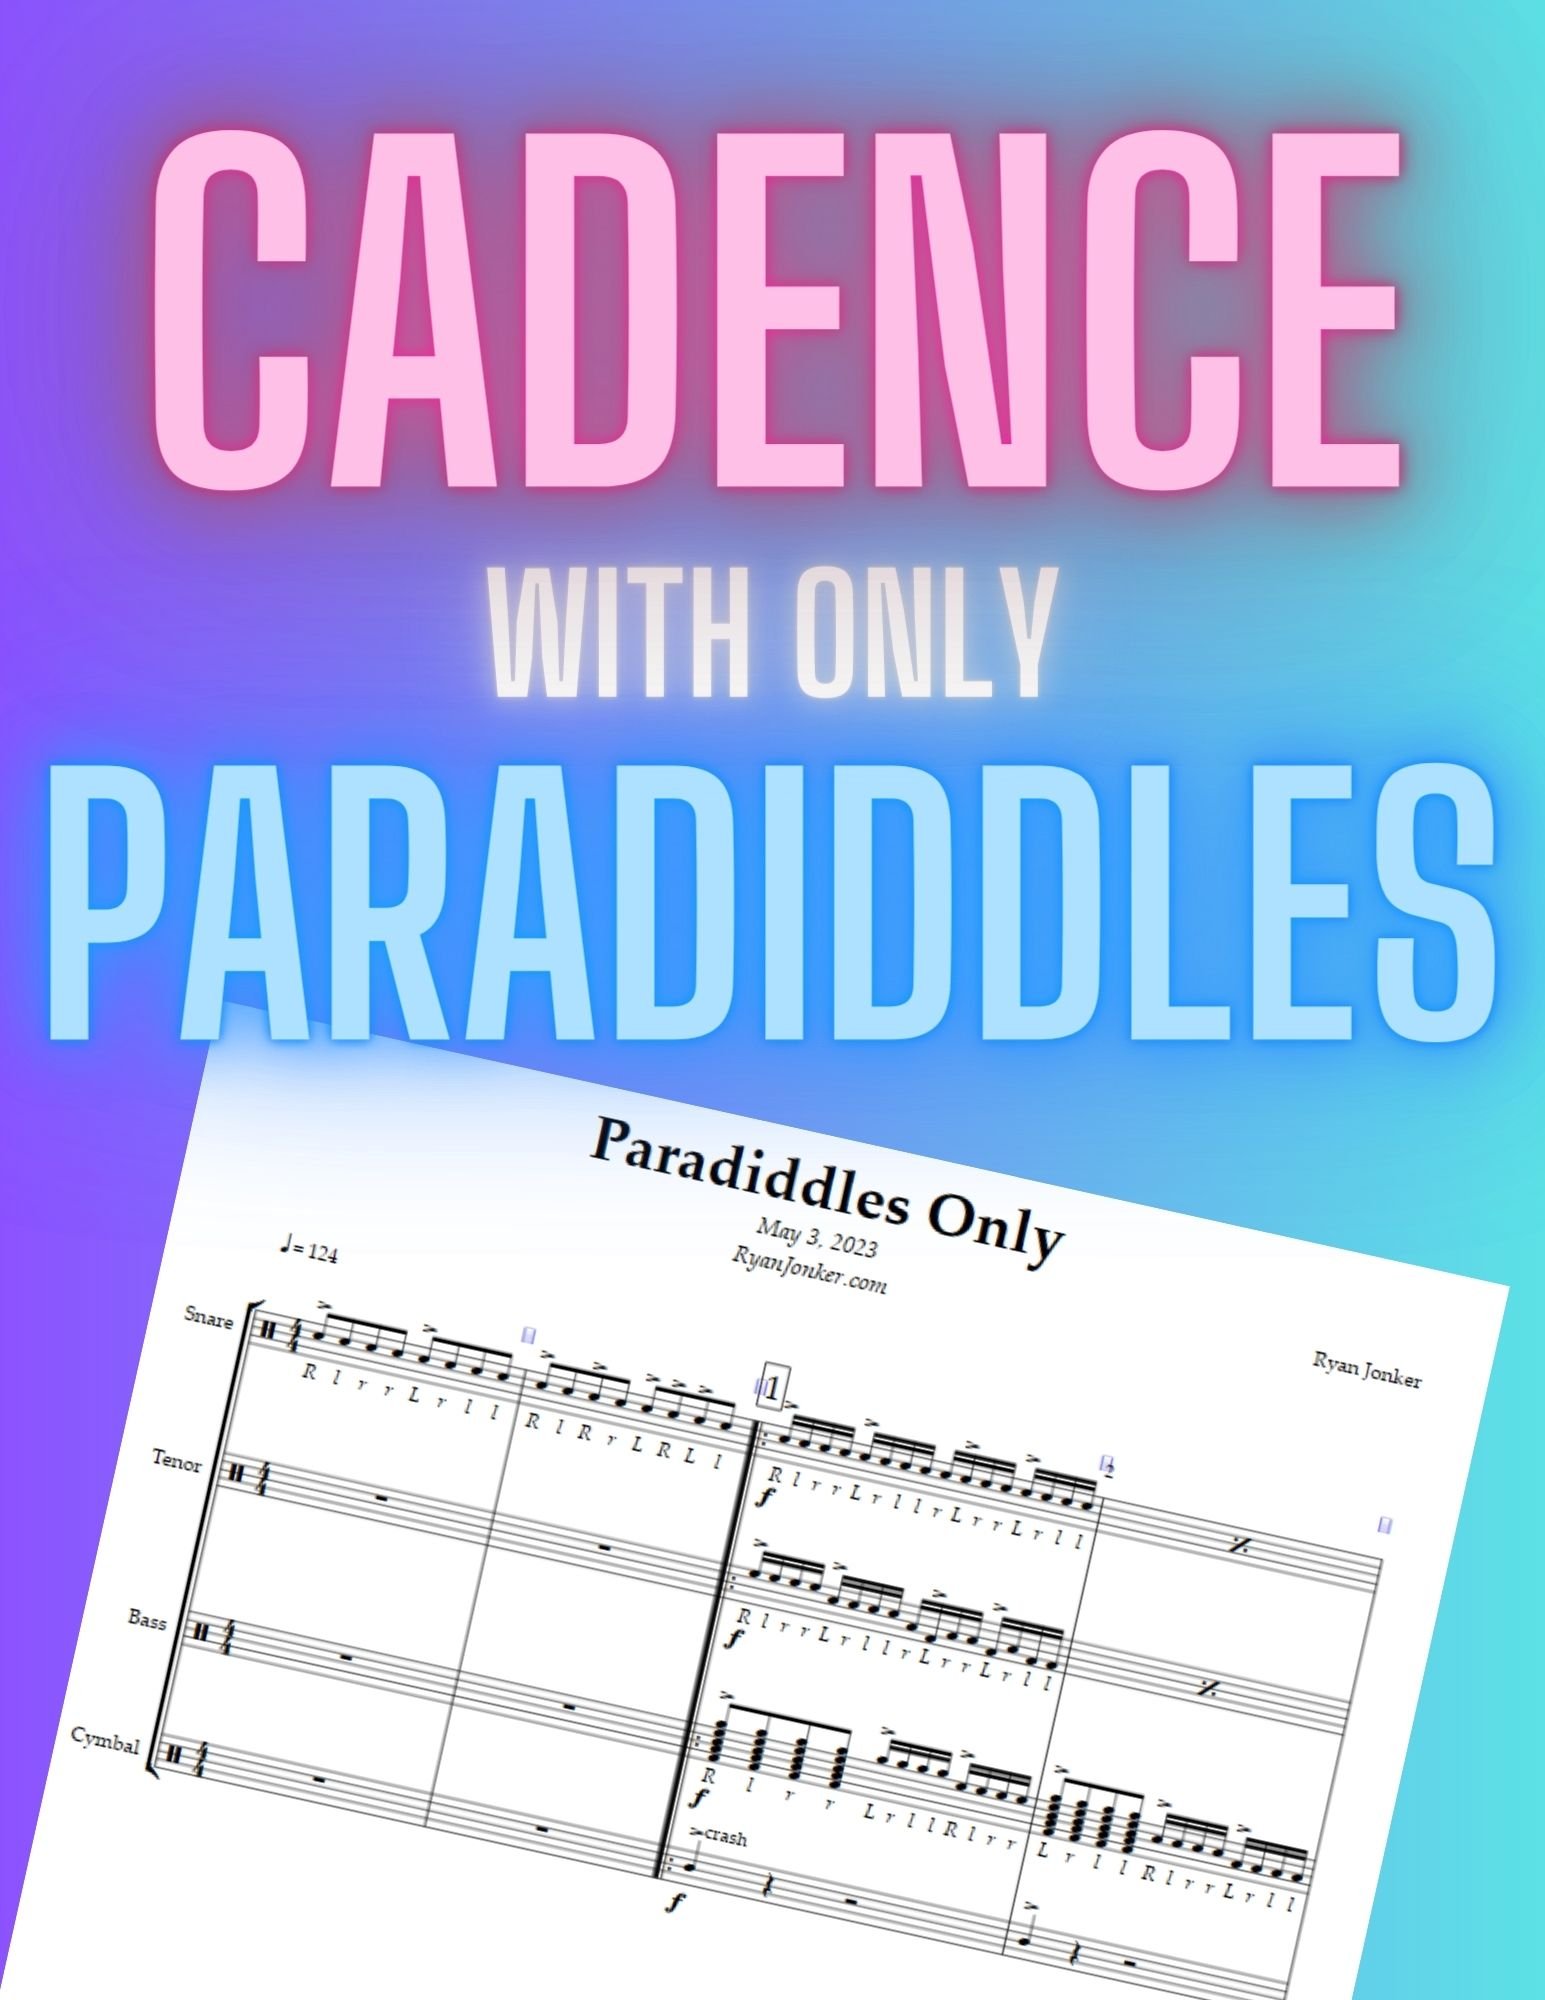
Some sample drumline music. In most cases, as shown here, the top line is for snares, middle line is for tenors, and bottom line is for bass drum. Cymbals are not included in this guide, but that line would typically be located below the bass drum line.
STICKINGS
Drumline is a precision activity, and that means the players need to all use the same stickings. A good drumline arranger will always include stickings for snares, tenors, and bass drum unisons. Here is a description of the letters used:
“R” - play with your right hand
“L” - play with your left hand
“B” - play with both hands
Some arrangers will capitalize accented/loud notes and use lowercase for taps/quiet notes. This helps the reader see the dynamics through the sticking and can aid in learning new music more quickly and accurately.
Stickings (red boxes) are used to tell the performer which hand to play each note with. Notice that bass drum “splits” do not need stickings, as basslines tend to do what they want anyways.
DYNAMICS
As in all music, dynamics are used to express the volume that notes should be played. There is nothing too different from traditional music notation in this regard, but it is worth noting that some arrangers will indicate stick heights instead of dynamics. A stick height is a measurement of how far the stick is from the drumhead when you strike it. Greater height with equal force translates to more volume. Here is a height system that is generally used:
pianissimo (pp) - one inch stick height
piano (p) - three inch stick height
mezzo-piano (mp) - six inch stick height
mezzo-forte (mf) - nine inch stick height
forte (f) - twelve inch stick height
fortissimo (ff) - fifteen inch stick height
Dynamics (green boxes) are used to indicate volume. “Hairpins” indicate gradual crescendo (increase volume) or diminuendo (decrease volume).
ACCENTS
In drumline notation, accents are crucial to creating interesting textures and musical phrases. Generally, an accent will indicate to play at the specified dynamic, while unaccented notes will usually be performed at a “piano” (p) dynamic. For example: the third measure of this example for the snare drums is a long triplet roll at “forte.” Because only the first note of the measure is accented, only that note is actually “forte,” and the rest of the roll would be played at “piano.”
This concept can be a little confusing at first. One idea that might help would be to remember that most notes in drumline music are piano, and we refer to them as “taps.” Let your accents reflect the written dyanmics, and let everything else (generally) be “piano.”
Accents (green boxes) are used to show which notes are louder. Tenuto markings (red boxes) are used to reflect “half-accents,” or notes that are slightly louder than taps, but not quite full accents. Marcato accents (blue boxes) are commonly used with rim shots just to help reinforce to the reader that “hey, this note is a rimshot.” Rim shots are where you hit the drum and rim at the same time, creating a loud pop. These should generally be executed with the same motion as a normal accent, just with the addition of “pulling back to catch some rim.”
ROLLS
Open rolls and buzz rolls are distinguished by slashes on the stem of the note.
Open rolls, also know as double stroke rolls, are indicated with a single slash. This slash means two notes should be performed per every one written note.
Buzz rolls, also know as multiple bounce rolls or press rolls, are indicated with a “Z” slash through the note. This means that multiple notes per hand should be performed per every one written note.
Sometimes longer note durations will be given without sticking. It would then be up to the performers to agree upon a “hand speed” (how many motions per roll they will perform). In my drumline compositions, I try to always indicate the hand speed to ease the burden on the performers. However, both methods are commonly used.
Buzz rolls (red boxes) are indicated with “Z” slashes, while open rolls (green boxes) are indicated with a single slash.
ENJOYING THE GUIDE?
Check out my exercise packetS!
BASS DRUM SPECIFICS
Playing in a marching bass drum line is a truly unique experience. Performers represent one part of a whole, with much of their music being played solo, as they are the only one on their particular drum, and a “dropped” (missed) note means disaster for the overall drumline sound.
Unisons - located on the middle line, usually with larger noteheads, are used when all bass drummers hit the drum at the same time.
Splits - located on any of the various spaces, are used when just one or a few players should hit the drum.
Rim clicks - if unison (usually), these are notated on the middle line with an “X” notehead. This is when players tap the rim (or hopefully rim guard) of the drum.
Rim shots - used less frequently on bass drum, these are usually shown with an “X” notehead on a split line with a marcato accent or something similar to distinguish from a rim click. (Rim shots not shown in the image below, but you can see what they might look like in the snare/tenor parts).
Unison notes (blue boxes) are for all players. Split notes (red box) are for individual players, with the smallest drum being the highest pitch, and the largest drum being the lowest. Rim clicks (yellow boxes) are for all players if shown on the center line, as seen in this example.
FLAMS
Grace notes are used to indicate “flams,” which are an essential rudiment that all drummers should be well aware of! The sticking on the flam refers to the primary (loud) note.
Flams (orange boxes) are used to add texture and complexity to percussion music.
TENOR SPECIFICS
There are a wide variety of notation systems used for marching tenors. The best way to learn about the notation is to get a set of tenors and start learning lots of music from lots of different composers!
Most sets of tenors have at least four drums. These notes are indicated in the spaces within the staff, with the largest drum being on the lowest space, and the smallest drum being on the highest space.
Some sets of tenors have “shot drums,” also know as “spock drums.” These are very small drums, and a set of tenors will have either zero, one, or two of these. They are indicated by using the space and line directly above the staff, as seen in measure three of the image below.
One common technique indicated in tenor notation is “crossovers,” where one hand “crosses over” the other to reach a distant drum. This visual technique is flashy and fun for performers of all skill levels.
Crossovers (red box), in this case mean to cross the right hand over the left. Also notice that flams are sometimes split between drums (measure three).
SUMMARY
As thanks for reading this guide, you can use promo code DRUMLINE to receive 15% off any music purchases in the store. Solos, ensembles, cadences, technique books… it’s all there. Check it out!
Hopefully this answered a lot of your questions about reading drumline music. Remember, every arranger and composer uses slightly different techniques and styles. Post your questions below, or contact me with your drumline music questions and I will get back to you soon!

